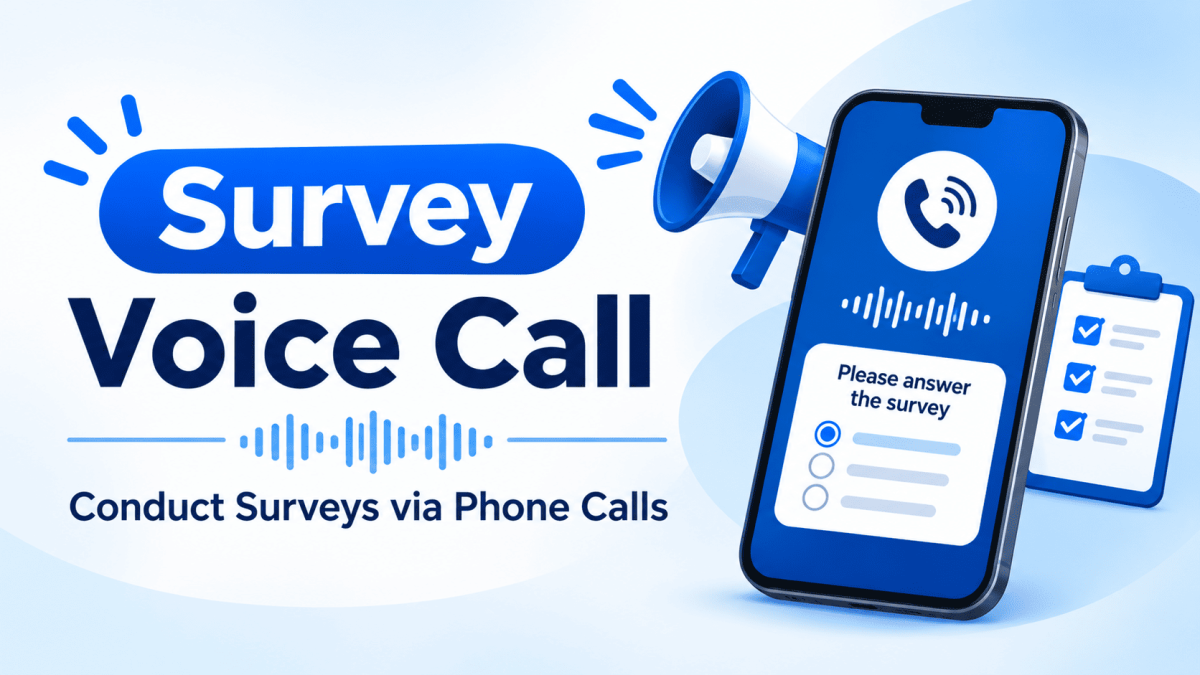
A voice survey is the fastest way to hear from hundreds or thousands of people at once. Your customers get a call, hear a short question in your own recorded voice, and answer by pressing a key on their phone. There's no app to install, no link to click and no form to fill. A simple keypress works on every phone, from the latest smartphone to a basic feature phone.
Businesses use voice surveys for:
- Customer satisfaction: "How was your experience with us? Press 1 for Excellent … Press 5 for Poor."
- Opinion polls: "Which option do you prefer? Press 1 for A, 2 for B, 3 for C."
- Interest checks: "Would you like to know about our new plan? Press 1 for Yes, 2 for No."
- Event and attendance confirmations: "Will you attend on Sunday? Press 1 to confirm, 2 if you can't make it."
Every answer is counted under the name you give it, so your results read "Excellent: 412, Good: 268" and not just "Key 1, Key 2".
This guide walks you through creating, launching and tracking a voice survey on DV Connect, and following up on it.
Before You Begin
Voice Surveys is a separate service on your DV Connect account. If you see Surveys under Outbound in the left sidebar, you're ready to go. If you don't, contact our support team to have it enabled.

Step 1: Record and Upload Your Survey Question
A survey call plays your own recorded message, so the recording is your question.
- Go to Audio files in the left sidebar under Outbound.
- In the Upload a recording panel:
- Enter a clear Name (e.g., Customer feedback – November, Hindi).
- Drag and drop your file, or click browse your computer (.mp3 or .wav, up to 10 MB).
- Click Upload.
Like promotional recordings, survey recordings are reviewed before they can be used. You can set up your survey while the recording is pending; it starts automatically once the recording is approved.

Tips for a survey recording that gets answers:
- Say who you are first: open with your brand name, e.g. "Namaste, this is ABC Motors…". Recordings without a clear business identity are usually rejected.
- Ask one question, simply: one clear question per call gets far more answers than several.
- Read out every option with its key: "If you are very satisfied, press 1. If you are satisfied, press 2. If you are not satisfied, press 3." People can only press what they hear.
- Keep it short: under 30 seconds is ideal. Most listeners decide in the first 10 seconds whether to stay on the line.
- Repeat the options once at the end: it helps people who started listening late.
- Keep any music low so the question is easy to hear.
Step 2: Create a New Survey
- Click Surveys in the left sidebar.
- Click New survey in the top right corner.
Step 3: Set Up the Survey and Your Audience
In the survey builder:
- Campaign name: a name you'll recognise later (e.g., Service feedback – November).
- Call type: Voice survey is already selected. Survey calls follow promotional calling hours, 9:00 AM to 9:00 PM IST. Calls queued outside these hours wait and go out when the window opens.
- Recording to play: choose your approved survey recording from the list, or upload a new one directly.
- Recipients: upload a CSV of mobile numbers (use Sample CSV at the top right to check the format) or paste numbers directly. Repeated numbers are removed automatically, so nobody gets the same survey twice in one campaign.


Step 4: Name Your Answers
This is what makes it a survey. Ask them to press a key is always switched on for surveys and can't be turned off.
- Tick the keys your recording offers (any of 0–9).
- Name each answer in What it means. Some common setups:
- Rating: 1 = Excellent, 2 = Good, 3 = Average, 4 = Poor, 5 = Very poor
- Choice: 1 = Option A, 2 = Option B, 3 = Option C, 4 = Undecided
- Yes/No: 1 = Yes, 2 = No
- Optional: in Call this address, enter your website or CRM address for a key. Every time someone presses that key, we notify your system instantly, while the person is still on the call. For example, everyone who presses 1 = Interested can go straight into your sales team's lead list.
Answer window: people can press a key while the question is still playing, so they don't have to wait for the end. After the recording finishes, the call waits 10 seconds for an answer. If your audience needs more time, contact support to adjust the wait.

Make sure the keys match the recording. If your recording says "press 1 for Yes", key 1 must be named Yes. A mismatch is the most common reason for confusing results.
Step 5: Schedule and Launch
In the Settings panel on the right:
- Show as: choose the caller ID your customers will see.
- Start at: pick a date and time to schedule the survey, or leave it blank to start as soon as lines are free.
Click Create and start.

Step 6: See Your Results
Open Surveys and click your survey's name. At the top you'll find Survey results, your answers already counted:
- Each answer by name: how many people chose it and its share, e.g. Excellent – 412 (46%).
- Took the call, no answer given: answered the phone but didn't press a key.
- Did not take the call: busy, unanswered or unreachable.
Below that is the full call log: every number, whether it answered, the key pressed, call duration and time. Calls that aren't answered don't use your credit; it's returned automatically.
Click CSV to download every number with its answer, ready for Excel or your CRM.

Step 7: All Your Survey Answers in One Place
Running several surveys, or sending surveys through our API? You don't need to open them one by one.
Go to Insights → Survey & feedback answers and choose the Survey tab. You'll see:
- Every answer across all your surveys and API requests, in one list.
- A summary at the top with how many people chose each answer over the dates you pick.
- Filters for dates, campaign, mobile number, or your own reference.
- Download answers, to export everything you see to a CSV.

Step 8: Follow Up with "Run Again"
Not everyone answers the first time. From your survey's page, click Run again at the top right and choose who to call:
- Those who didn't answer: numbers that were busy, unanswered or didn't go through. Numbers on the DND register and invalid numbers are left out automatically.
- Everyone in this campaign: the full list, called once more.
- Those who answered: a follow-up to people who picked up, for example a second question or a thank-you offer.
- A new list: the same question and answer names, with a fresh set of numbers.
Choose Start now or Schedule for later, then click Run again.
For Developers: Surveys Through the API
You can also run surveys from your own software. Send a list of numbers with call_type=obd_survey, your approved recording, and a name for each key (key1_label, key2_label…). Then read the counted results back from /survey/results. Full examples, including a ready-to-use link, are on the API page in your panel.
Quick Checklist Before You Launch
- Your recording names your business in the first few seconds.
- Every option is read out with its key.
- The answer names in the panel match the keys in the recording.
- The survey is scheduled between 9 AM and 9 PM.
- You've tested it on your own number first.
Voice surveys turn a simple phone call into real customer insight, counted and labelled for you, in hours rather than weeks. Log in to your DV Connect panel and launch your first survey today.