
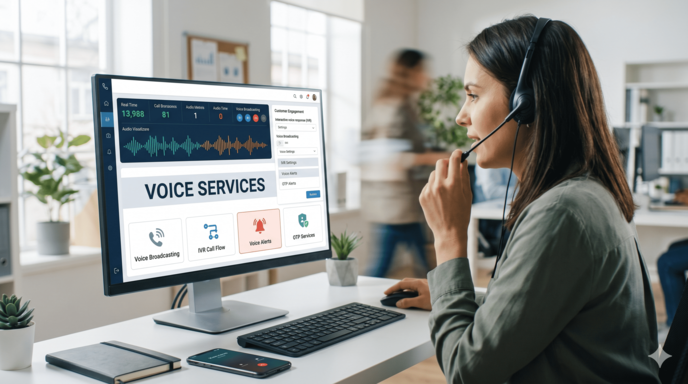
Interactive Voice Response (IVR) streamlines inbound calls by automatically greeting callers, routing them to the correct department, and ensuring customer inquiries reach available agents without delay.
1. ACCESS YOUR PORTAL
Retrieve your account credentials directly from your client dashboard to log in:
1. Navigate to your voice service portal.
2. Enter your login details (as provided in your Client Area).
3. Once logged in, select "IVR designer" from the left-hand navigation panel under the IVR menu.
Note: Ensure you have added your agents under the "Agents" tab first. An IVR requires designated agents or a fallback number to route live calls.
2. BASIC CONFIGURATION
In the Main IVR setup area, configure the foundational settings for your call flow:
- Name: Give your IVR flow a descriptive label (e.g., Main IVR).
- Spoken In: Select the spoken language for automated announcements (e.g., English (India)). If typing text in Hindi, write it in Devanagari script (नमस्ते) so the voice engine pronounces words accurately.
- Read At: Set the playback pacing (e.g., Slightly slow). Slower pacing helps callers easily understand multi-option menus.
- On Which Number: Assign the IVR flow to all numbers or specify a dedicated virtual number.
3. SET THE WELCOME MESSAGE
Under Step 1 (Welcome message), define what callers hear when they first connect:
- Playback Mode: Choose "Type the words (read out automatically)" for Text-to-Speech, or select your pre-recorded audio file.
- Message Script: Enter your opening greeting (e.g., "Thank you for calling. Please listen carefully to the following options.").
4. DESIGN THE KEYPAD MENU & SUB-MENUS
Under Step 2 (Keys the caller can press), set up your DTMF options to direct callers to the right teams:
- Department Keys: Assign key presses to departments (e.g., Press 1 for Sales, Press 2 for Support, Press 3 for Accounts).
- Agent Routing: Assign specific agents to each key. Calls ring agents one at a time according to the queue priority you specify.
- Sub-Menus: If a department has multiple tiers or language options (e.g., Press 1 for Hindi, 2 for English), check "This key opens a sub-menu" to add multi-level routing options like 1 > 1, 1 > 2, and 1 > 3.
Tip: If you want calls to ring your agents directly one after another without prompting callers to make a selection, leave all key fields empty.
5. BUSY FALLBACK & CALL HANDLING
Under Step 3 (When every agent is busy), determine how calls are handled when all team members are occupied:
- Busy Message: Enter an automated announcement informing callers that all lines are currently busy.
- Action: Choose what happens next from the "Then" dropdown (e.g., End the call or direct callers to a secondary routing action).
6. BUSINESS HOURS, RING LOGIC & CUSTOMER FEEDBACK
Configure how your IVR behaves during and outside active business hours:
- Ring Duration: Set "Ring each agent for" (default is 20 seconds, about four rings) before the system rolls over to the next agent.
- Routing Order: In "Who rings first", choose whether calls cycle sequentially ("In order — 1 first, then 2, then 3") or follow custom priority rules.
- Returning Callers: Use "Same agent as last time" to automatically connect repeat callers to the agent they previously spoke with.
- Hold Experience: Under "While an agent's phone rings", select between A ring tone, Music, or Your own recording.
- Operating Schedule: Define your working hours using "Open from", "Until", and the day-of-week checkboxes (Mon–Sun).
- After-Hours Behavior: For calls received outside operational hours, define an "Outside the hours below" greeting. Under "After the closed message", choose to End the call, Let them leave a voicemail, or Ring the on-call agent instead.
- Post-Call Feedback: Set "Ask for a score" to "Yes — after the agent hangs up" to collect customer satisfaction ratings automatically right after the call ends.
7. ACTIVATE AND TEST
1. Set the Status dropdown to Active.
2. Click "Save IVR" at the bottom of the designer.
3. Use the "What would a caller get now?" simulator button to verify your voice prompts, timings, and routing paths before taking live customer calls.










Related Blog